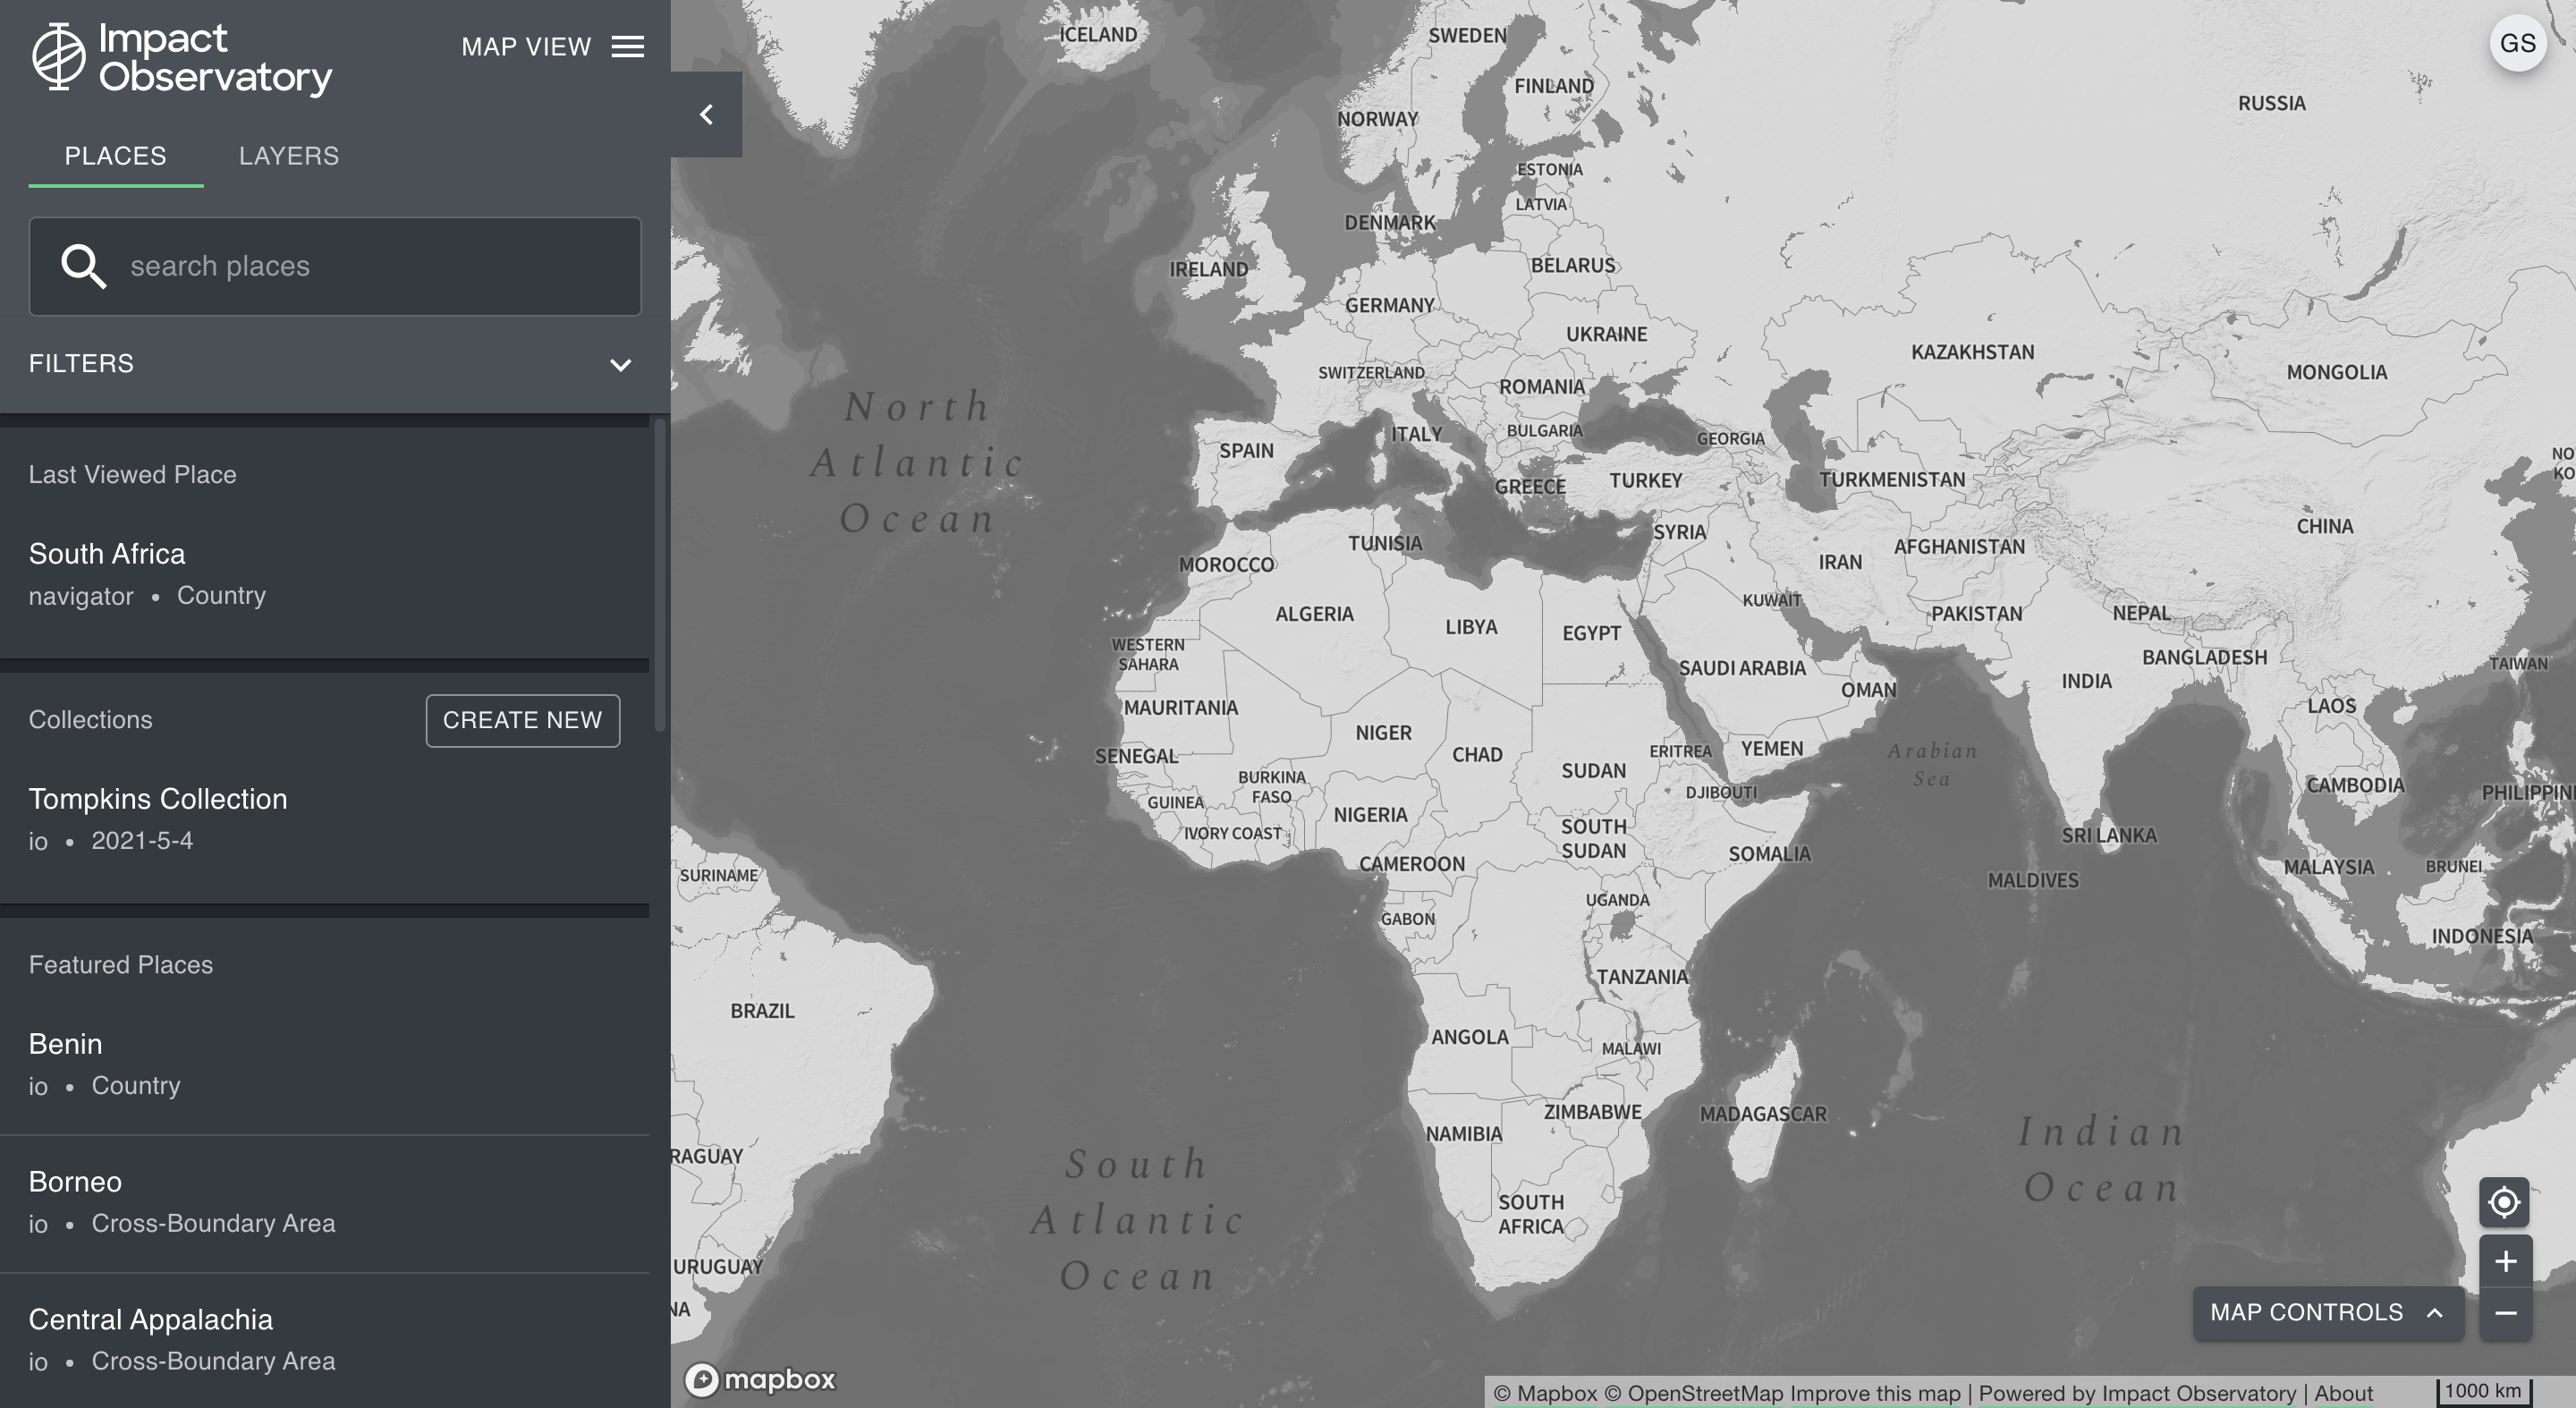
The Map View
Upon launching the platform, you are brought to the map view. The map view is where you can search for places or layers to extract insights from Navigator’s catalog of environmental data and indicators.
Layers Tab on Navigator
All users have access to a standard catalog of global environmental datasets, referred to as layers, to monitor and track environmental trends anywhere in the world. The set of global layers are located within the Navigator workspace. Additional layers can be added to your private workspace.
Search for a layer
From the LAYERS tab, type in the name or part of a name of a dataset. Note that only layers within your selected workspaces will appear in the search results. Select the specific workspaces from the Map View button that you would like to search through. You can also use the FILTERS button to filter the search results by a dataset’s associated category.
Layer Controls
Toggle on a layer to view it on the map.
Each layer legend contains additional controls to edit the layer transparency, hide the layer, read a description of the layer and source information, and remove the layer from the map.
Users may add multiple layers to the map simultaneously and alter the order they appear in using the leftmost dots icon in the legend. Try changing the transparency of one layer to see how information from two layers overlaps.

Download the Data from an Original Source
If data is available for download from an original source you can find a link to the original source in the description box.
To find the link for a certain layer:
Toggle on the layer in the Map View
Click the “i” button in the legend to open a pop up window with the description box. Find the Download the Data hyperlink for access to a download source.
If a Download the Data hyperlink is not listed, the layer is not available for download from an outside source.
Clip and Export Data
You can use the clip and export layer button to download data for a specific place for use in a slide deck, report, or document:

Select the PLACES tab in the left-hand panel, search for and select your desired place.
Click on the “More Options” button next to the title of the place to open the “Click and Export Layer” drop down.
A new tab will open in the left-hand panel. Search for and select your layer of interest. If your layer contains reference layers, such as multiple years or multiple versions of the data, you will need to select one of the reference layers from a second drop down menu.
Select the download format. Currently, the platform only supports PNG format.
Click DOWNLOAD to clip and export the layer for only the selected place. The PNG image will save to the Downloads folder on your local computer. Some layers are not available for download due to license restrictions.
Map Controls
The MAP CONTROLS button in the bottom right corner of the map allows you to edit the basemap, zoom in or out, turn on or off labels and roads, and recenter the map over the selected place. The satellite basemap, labels, and roads are provided by Mapbox.
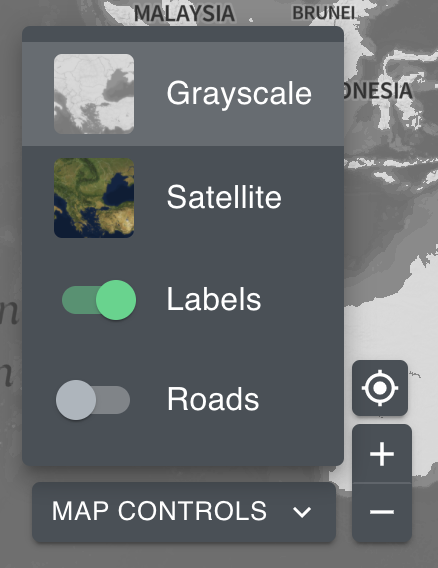
Basemaps
The basemap can be set to a grayscale map style or a satellite basemap from Mapbox. No specific dates for imagery can be provided by Mapbox at this time. Satellite basemap images are from a variety of satellites and range from a few years to a few months old. Because there is no way to determine the date the images on the satellite basemap were taken, it should not be used exclusively to verify results, rather only as a general reference.